Adding content to the index
The four ways to add content to the Aimogen Pro embeddings index, automatic indexing of new posts, and how the index is organised.
Aimogen Pro › Advanced Tools › AI Embeddings
Four ways in, each on its own tab.
1. Add a new embedding manually#
Type or paste text directly. Good for facts that exist nowhere else on your site — policies, FAQs, internal knowledge.
Each entry is stored as an aiomatic_embeddings post, so it can be edited later.
2. Upload from a file#
Upload a document and index its contents. Good for manuals, specifications and existing documentation.
Larger documents are chunked automatically.
3. Scrape data from a URL#
Give a URL; the page is fetched, cleaned and indexed. Good for indexing your own documentation site, or public reference material.
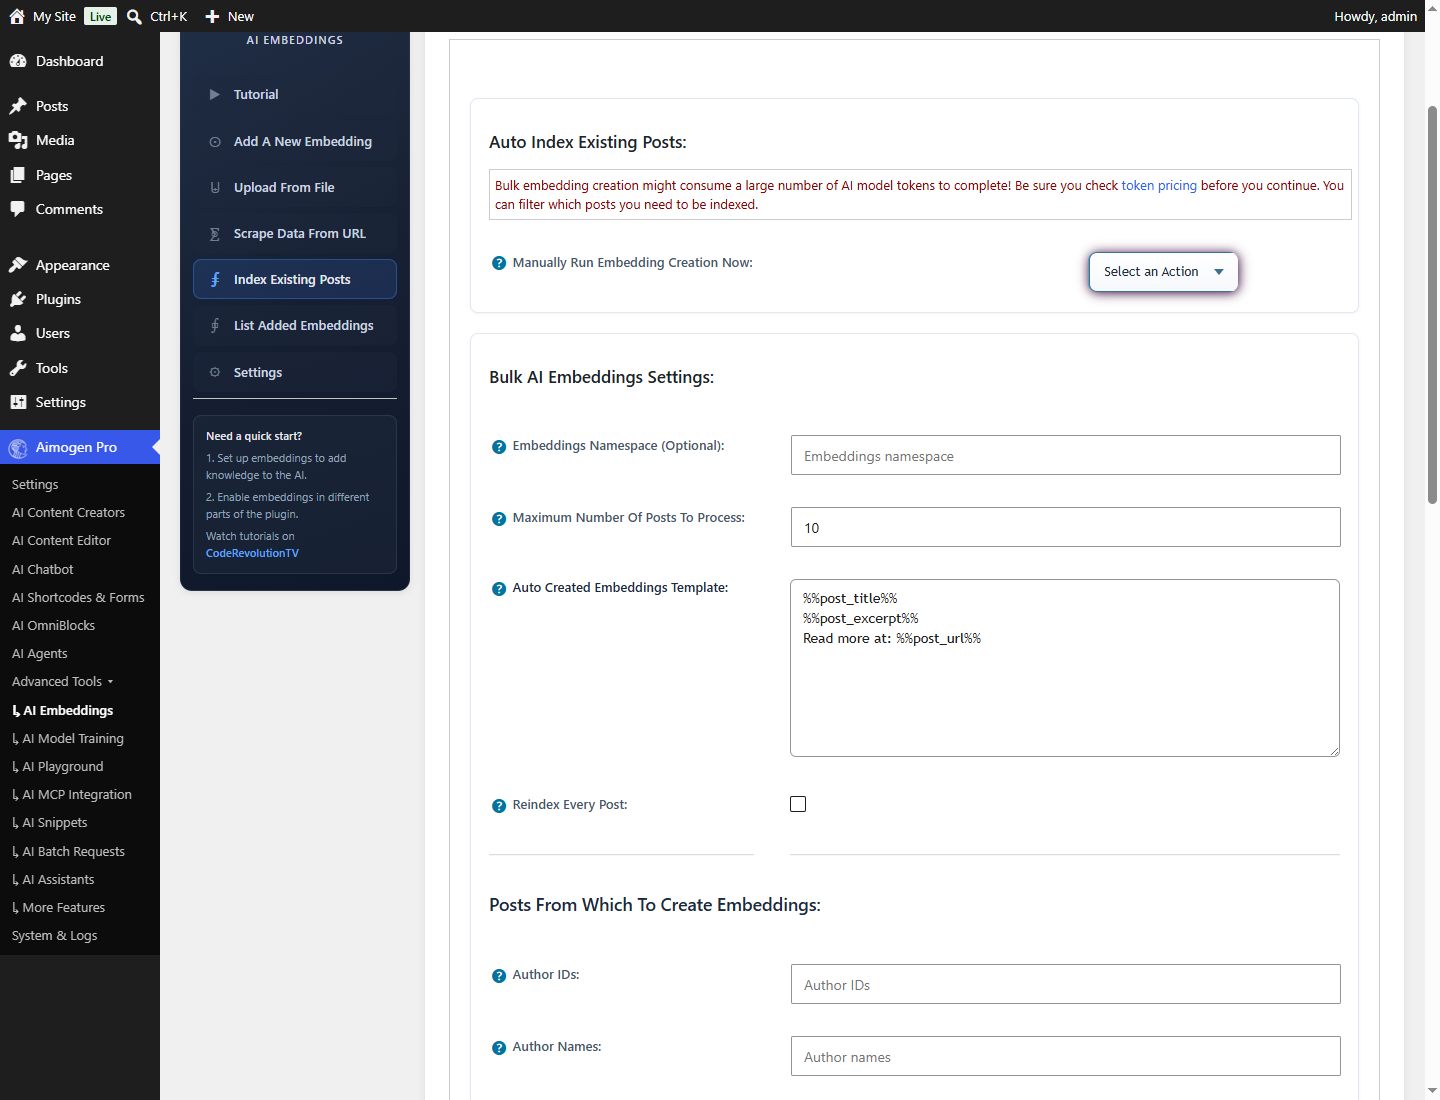
4. Index existing posts#
The most-used option. Select post types and index your existing content in bulk.
For a content site, this is usually the starting point: index your posts, and the chatbot can answer from your archive.
Automatic indexing#
Settings › Embeddings › Enable Embeddings Auto Indexing For Newly Published selects post types that are indexed automatically as they are published.
Indexing is deferred to the aiomatic_index_single_post cron event rather than done during the publish
request, so publishing stays fast.
| Setting | What it does |
|---|---|
Enable Embeddings Auto Indexing For Newly Published | Which post types |
Auto Created Embeddings Template | What text is indexed for each post |
Auto Namespace | Which namespace auto-indexed content goes into |
The embedding template#
The template decides what text represents a post in the index. It accepts placeholders:
Title: %%post_title%%
Categories: %%post_cats%%
Tags: %%post_tags%%
URL: %%post_link%%

%%post_content_plain_text%%
Including the title and taxonomy matters: retrieval matches on the indexed text, so a chunk that includes its title is easier to find than a bare paragraph.
Including the URL is useful — the chatbot can then cite where an answer came from.
Rewriting content before indexing#
| Setting | What it does |
|---|---|
Optimize The %%post_content%% Shortcode Using AI | Rewrites content with AI before embedding |
Embedding Content Rewriter Prompt | How it is rewritten |
AI Model / AI Assistant Name | Which model does it |
Why bother: raw post content contains navigation text, calls to action and formatting noise that dilute the embedding. A rewrite that condenses a post into its factual content produces sharper retrieval.
The cost is an AI call per indexed document, which is significant for a large archive. Worth it for a knowledge base; usually not for a blog.
Namespaces#
A namespace partitions the index. Content indexed into support-docs is not returned when searching
product-pages.
Set them so that:
- A support chatbot searches documentation
- A sales chatbot searches product content
- Content generation searches reference material
- Each agent has its own memory space (
agents_<id>, automatic)
Each context under Settings › Embeddings › Enable Embeddings For has its own namespace field, and the
embeddings_namespace shortcode attribute overrides it per placement.
The aiomatic_embedding_namespace filter lets code choose the namespace dynamically. See
Filter reference.
Managing the index#
List Added Embeddings shows what is indexed, and lets you edit or delete entries.
Because entries are aiomatic_embeddings posts, they are included in your database backup.
Keeping the index current#
This is the part that gets neglected. An index reflects content as it was when indexed.
- Auto-indexing handles new posts. Enable it.
- Edited posts need re-indexing. Re-index the affected posts.
- Deleted posts leave orphaned vectors. Delete the corresponding entries.
- After a bulk edit, re-index everything that changed.
A stale index is worse than no index, because the chatbot answers confidently with outdated information.
Related#
Still stuck? Open a support ticket and include the diagnostics from Aimogen Pro › System & Logs › System Info.